How to Wear a Plate Carrier: A Step-by-Step Guide

Plate carriers are essential for military and law enforcement personnel, but also for anyone who wants to participate in tactical training, airsoft… (if that’s your thing) or any activity that requires proper body protection. A plate carrier is designed to hold ballistic plates that offer protection against high-velocity projectiles.
There are different types of plate carriers available on the market and choosing the right one can be challenging. In this article, we will provide a step-by-step guide on how to wear a plate carrier and highlight some of the best products available on Chase Tactical that can help you achieve optimal protection and comfort.
What Is A Plate Carrier?
A plate carrier is a tactical vest that carries ballistic plates to protect vital areas of the body from penetration by bullets and shrapnel. A plate carrier is typically made from sturdy materials such as 500D or 1000D Cordura nylon, chosen for durability and abrasion resistance in demanding environments. It can also be accessorized with pouches, hydration carriers, and molle systems.
The simple reason anybody who is either a professional or merely for a hobby such as tabletop games needs a plate carrier is that it must be worn correctly. This would ensure safety and comfort while wearing it.
How To Wear a Plate Carrier?
Wearing a plate carrier can make a huge difference between comfort and effectiveness. Here’s the simplest way of wearing a plate carrier:
1. Choose The Right Plate Carrier
In order to achieve optimal protection and comfort while wearing a plate carrier, it is important to choose the right products. Chase Tactical offers a variety of high-quality products that can help you achieve this goal.
Start by confirming your plate size. Measure from the top of your collarbone down to 2–3 inches above your belly button for plate height, and nipple-to-nipple for plate width. Most adults between 5’4″ and 6’3″ are protected by a standard 10 × 12 plate. Those taller than 6’4″ will benefit from 11 × 14 plates. Your plate carrier size should match your plate size a carrier that is too large will allow plates to shift, leaving vital organs exposed.
One excellent example is the Chase Tactical LVPC-E Active Shooter Kit, which includes a Chase Tactical Low Vis (LVPC-E) Elite Plate Carrier, and two Chase Tactical Level IIIA 10 x 12 Soft Armor Shooter Cut. The LVPC plate carrier features adjustable shoulder straps and cummerbund, allowing you to customize the fit for maximum comfort.

The Level IIIA soft armor plates are made from lightweight Kevlar material that provides great protection without weighing you down.
By choosing this LVPC-E Active Shooter Kit from Chase Tactical, you can ensure that you have the best possible protection while also staying comfortable and agile during high-stress situations.
2. Putting on the plate carrier
Before putting on your carrier, confirm the correct orientation. Three ways to identify which side faces back:
- Drag handle — always located at the top of the back panel. If your carrier has one, it goes behind you.
- Cummerbund — always closes at the front. The adjustable side faces forward; you open and re-fasten it each time you put the carrier on or take it off.
Internal tags — like clothing labels — are typically sewn into the back side of the plate pockets.
Once you have all the necessary equipment and accessories, it is time to put on the plate carrier. Start by laying the carrier flat on a surface and adjusting the shoulder straps to your desired length. Next, put on the carrier like a vest and secure the waist straps to ensure a snug fit. Make sure the carrier is centered on your chest and covers your vital organs.

3.Adjusting the plate carrier
After putting on the plate carrier, it is essential to adjust it properly to achieve maximum protection and comfort. Start by adjusting the shoulder straps to ensure that the carrier fits snugly against your body without restricting your movement.
Next, adjust the waist straps to ensure that the carrier is secure but not too tight. Finally, adjust the plate carrier’s cummerbund to ensure that the ballistic plates fit tightly against your chest and stomach.
Cummerbund adjustment is a two-stage process. The back side is the macro adjustment you set once when you first receive the carrier and only revisit if your body size changes significantly. The front side is the micro adjustment you open and re-fasten every single time you put the carrier on. Tighten the cummerbund until the carrier stays stable during running, kneeling, and weapon transitions without compressing your ability to breathe fully. Most cummerbunds use both a hook-and-loop (Velcro) closure and side buckles; engage both for a fully locked plate carrier fit.
Optimizing Your Plate Carrier Setup: Key Considerations For Safety And Efficiency
When setting up your plate carrier, ensuring that every component is correctly positioned for maximum protection and operational efficiency is crucial. Here’s a guide to help you achieve the perfect plate carrier fit to maximize efficiency, offering you both safety and agility in the field.
Chest And Torso Height: Vital Protection Placement
Placing your body armor plates is critical for safeguarding your vital organs.
The front plate should be positioned so its top edge sits at or just below the suprasternal notch, the hollow at the base of your neck. A practical guide: plate coverage should start roughly two fingers’ width below the collarbone, ensuring the plate covers the cardiac box, the area protecting your heart and lungs, which is the highest-priority protection zone on your body.
The most common plate carrier fit mistake is wearing plates too low. Moving armor down toward the abdomen may feel like it covers more area, but it shifts protection away from your vital organs. Getting shot in the stomach has a significantly greater survival rate than getting shot in the upper chest your armor should always prioritize the cardiac box.
For balance, ensure the rear plate on your back aligns at the same height as the front plate, ensuring even protection across your torso.
Adjusting Shoulder Straps For Stability And Comfort
Properly adjusted shoulder straps are essential for maintaining stability and comfort. The shoulder straps should distribute the total weight of your plate carrier — plates, pouches, and all accessories — evenly across both shoulders, reducing the strain on your collarbone and preventing discomfort during prolonged use. A well-balanced setup enhances your safety and improves your overall performance.
Correct Placement Of Front And Rear Plates
Your front and rear plates are the primary panels of your plate carrier setup. Position the front plate to shield your heart and lungs, and ensure the rear plate aligns with it vertically to provide full torso coverage. These plates should conform to your body’s natural contours, allowing unrestricted motion. This setup enhances safety and agility, enabling you to perform essential movements like crouching, kneeling, and running without hindrance.
Maintaining Freedom Of Movement
A well-configured plate carrier should not restrict your natural range of motion. Ensure that your setup allows for smooth arm, shoulder, and torso movements, which are crucial for weapon handling and other tactical actions. Avoid overloading your plate carrier with unnecessary gear, as this can hinder your ability to move swiftly and effectively in dynamic situations. Test your setup by simulating real-world movements to ensure everything is in place for optimal performance.

Side Protection: Optional but Beneficial
Adding side plates to your loadout protects your flanks, covering the area from your armpits to your waist. If you choose to include side panels, ensure they are positioned to conform to your body’s shape without compromising movement. This layer of protection can be crucial in certain high-risk scenarios, but it’s important to balance safety and mobility.
Choosing The Right Body Armor Plates
Selecting the appropriate body armor plates for your chosen plate carrier is vital for ensuring the durability and effectiveness of your setup. Depending on the level of threat you anticipate, you may choose from a range of plates:
- Level III Plates: Designed to stop rifle rounds, these plates are lightweight, typically around 3 lbs, and curved for comfort. Level III Plates balance protection and ease of movement but may be more brittle than higher-level plates.
- Level III/IV Plates: These hard armor plates are built to withstand high-caliber and armor-piercing rounds. Made from ceramic or steel, they are more durable and offer comprehensive protection, though they are heavier.
- Level IV Plates: Offering the highest level of protection, these plates are designed to stop NIJ Level 4 projectiles. They are generally heavier but provide superior durability against high-caliber bullets.
Essential Equipment For Your Plate Carrier Setup
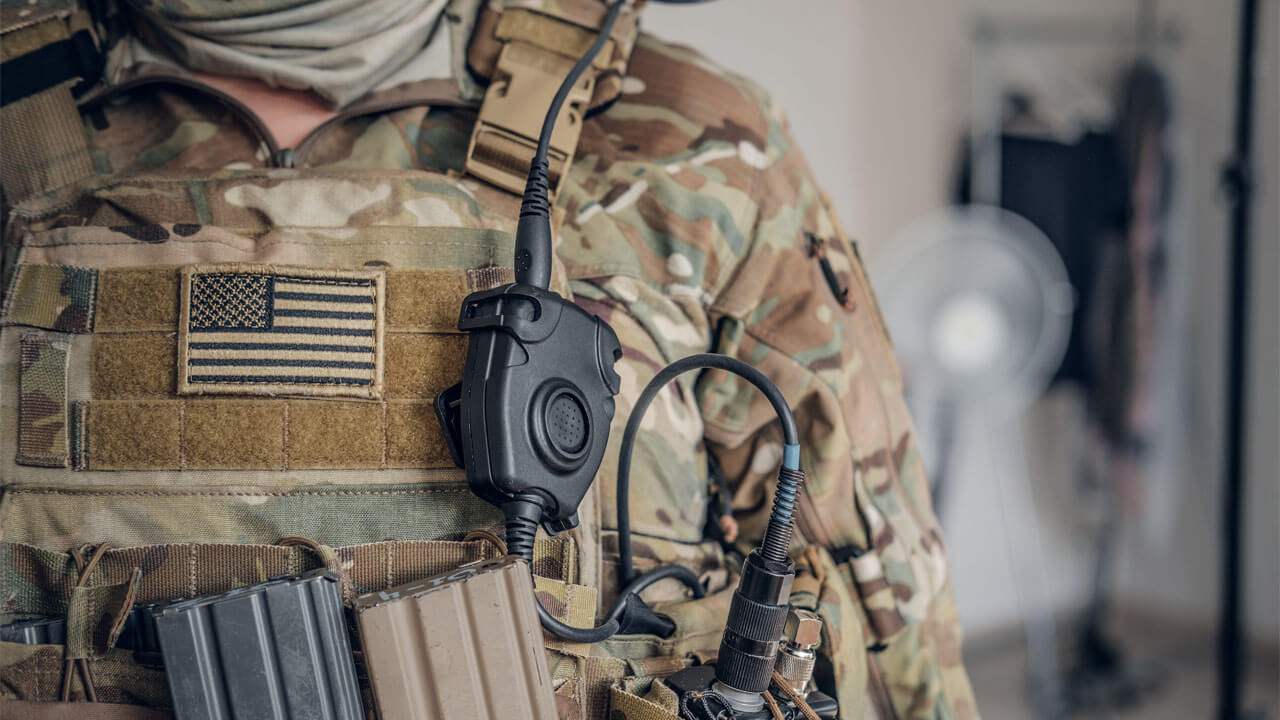
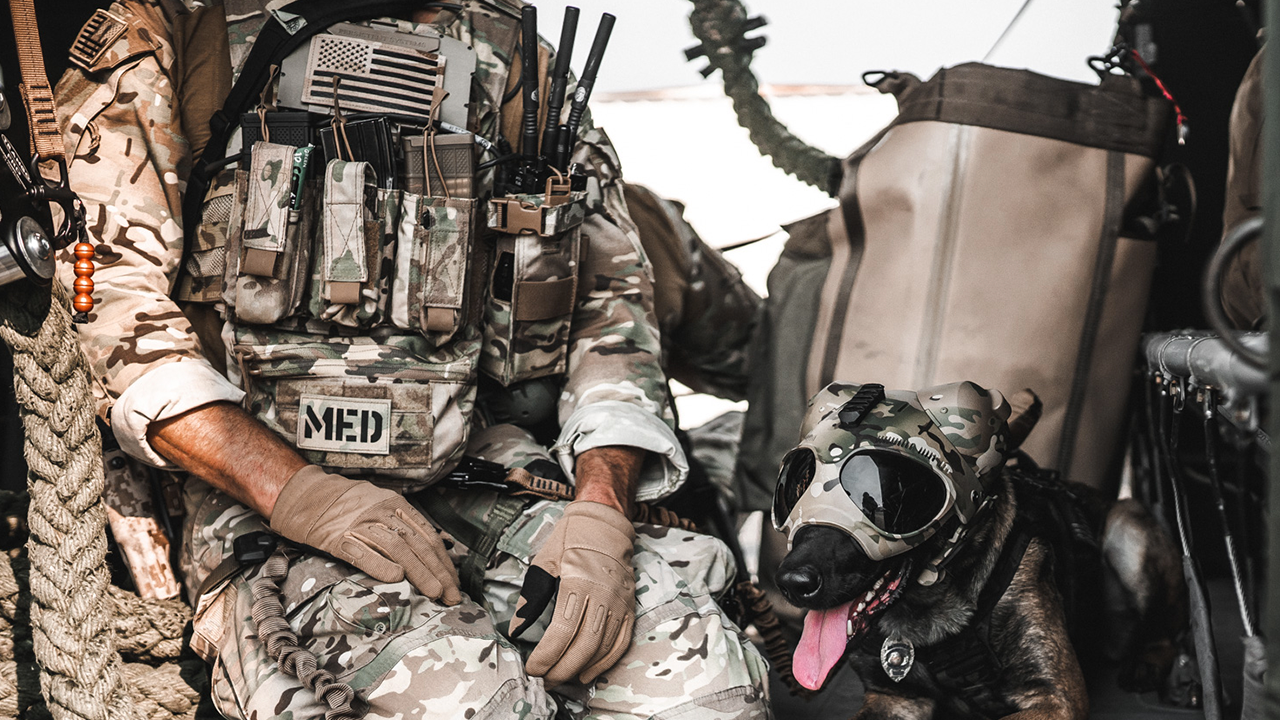
- Communications Equipment: Attaching radios and other communication devices to your plate carrier is crucial for maintaining clear communication with your team. This ensures seamless coordination and timely information exchange during operations.
- Administrative Pouches: Organize your essential documents, maps, and tactical tools with administrative pouches such as dump pouches, shotgun shell pouches, and molle pouches. These should be easily accessible, allowing you to keep everything in order without disrupting your focus on the mission.
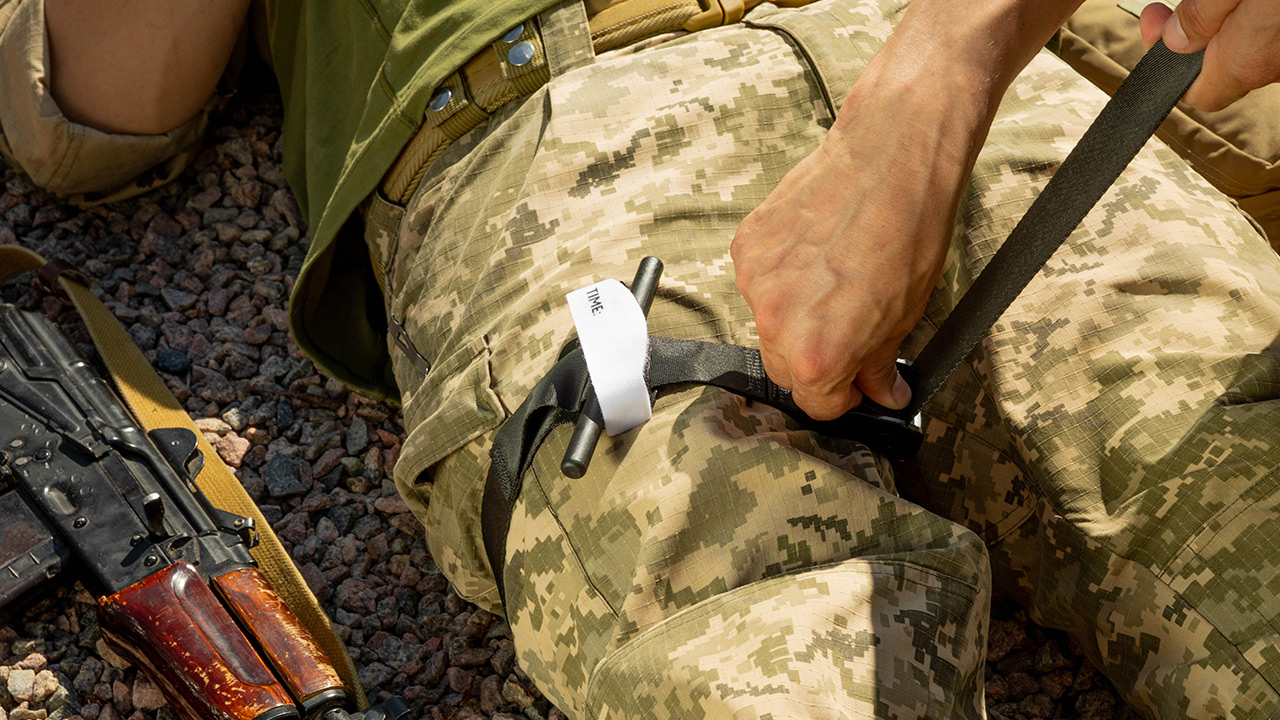
- First Aid Equipment: Equip your plate carrier with medical essentials like tourniquets, bandages, and trauma shears. Quick access to first aid gear can save lives in emergencies.
- Magazine Pouches: Proper placement of magazine pouches is vital for efficient reloading. Ensure extra magazines are securely attached and easily accessible, allowing you to stay responsive in high-pressure situations.
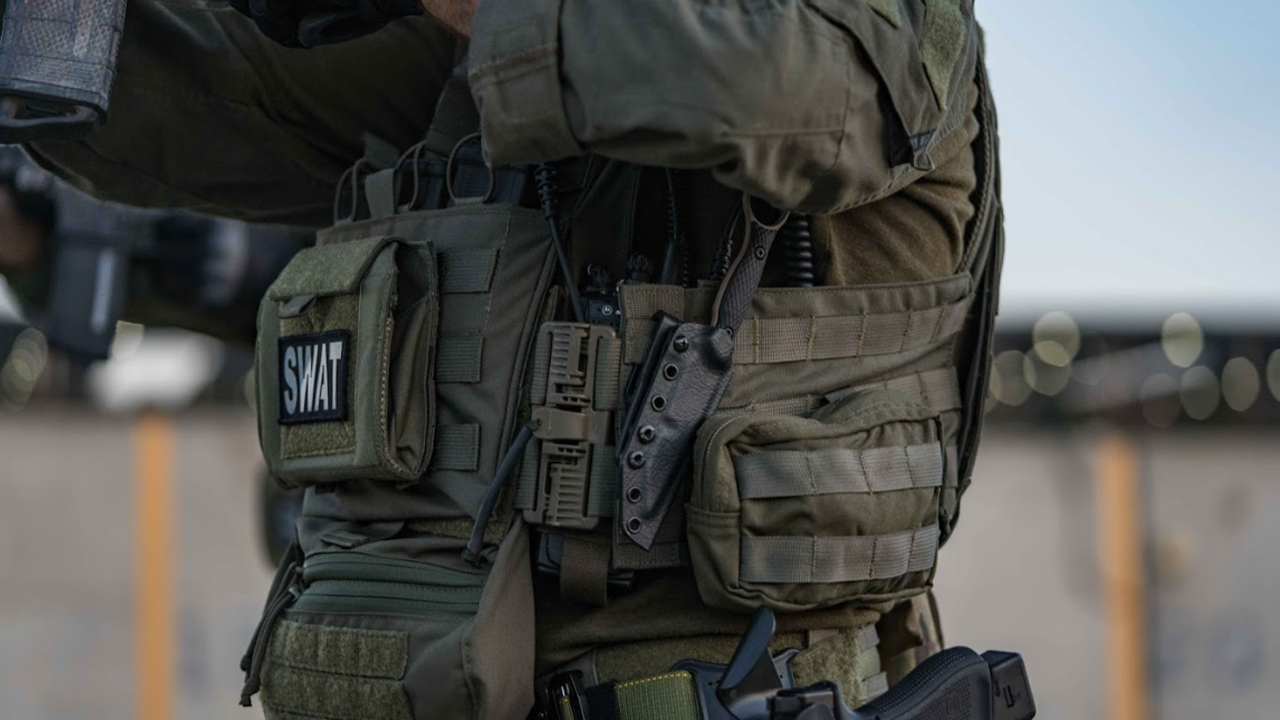
Pouch Placement: Strong Side vs. Support Side
Where you place each pouch on your plate carrier is just as important as what you carry. Think of your carrier as divided into four zones: front plate pocket, back plate pocket, strong-side cummerbund (your dominant shooting hand), and support-side cummerbund (your non-dominant side).
- Front plate pocket (12 o’clock) — your fastest-access zone. Keep the gear you need to reach instantly under stress here: magazine reload pouches, admin pouch, or fighting knife.
- Strong-side cummerbund — keep this side as clear as possible if you carry a sidearm. Pouches mounted above your holster will interfere with your draw. If you must mount something here, keep it thin and positioned toward the front (1–2 o’clock for right-handed shooters).
- Support-side cummerbund — your bulkiest items belong here: IFAK, radio, additional rifle magazine pouches. Position heavier items where they don’t interfere with your belt or dominant-hand access. Medical gear should always be within reach with both hands in case one arm is injured.
- Back plate panel — ideal for hydration systems. If you operate from vehicles, keep the back panel slick so your back sits flush with your seat. For foot patrols, a 2–3 liter hydration carrier here keeps you mobile and supplied.
Once your configuration is set, practice your draws, reloads, and medical access wearing the full kit. Train in your carrier — you do not want to discover issues with your setup for the first time in a high-stress situation.
Plate Carrier vs. Bulletproof Vest: What’s the Difference?
These terms are often used interchangeably, but they refer to meaningfully different types of protection. A bulletproof vest (ballistic vest) is typically made from soft body armor — layered Kevlar or similar materials — designed primarily to stop handgun rounds. Most are concealable under clothing and worn daily by law enforcement as standard duty gear.
A plate carrier holds hard armor plates that stop rifle-caliber threats at NIJ Level III and IV. Plate carriers are external, modular, and designed for overt use with full tactical loadouts. They allow you to scale your protection by changing plates and accessories based on the threat environment.
If your priority is concealment and everyday protection against handgun threats, a ballistic vest may be sufficient. If you need rifle protection, MOLLE compatibility, and scalable loadout capability, a plate carrier is the right choice. See our full comparison: Ballistic Shields vs. Bulletproof Vests.
Plate Carrier Setups for Different Mission Profiles
The right plate carrier configuration depends entirely on your intended use. Here are four common setups to consider:
Civilian / Home Defense Setup
Prioritize speed and simplicity. A lightweight carrier with soft armor inserts or Level III plates, a front-mounted IFAK, and minimal pouches keeps you mobile without the bulk of a full tactical loadout. In a home defense scenario, freedom of movement through tight spaces matters more than carrying capacity.
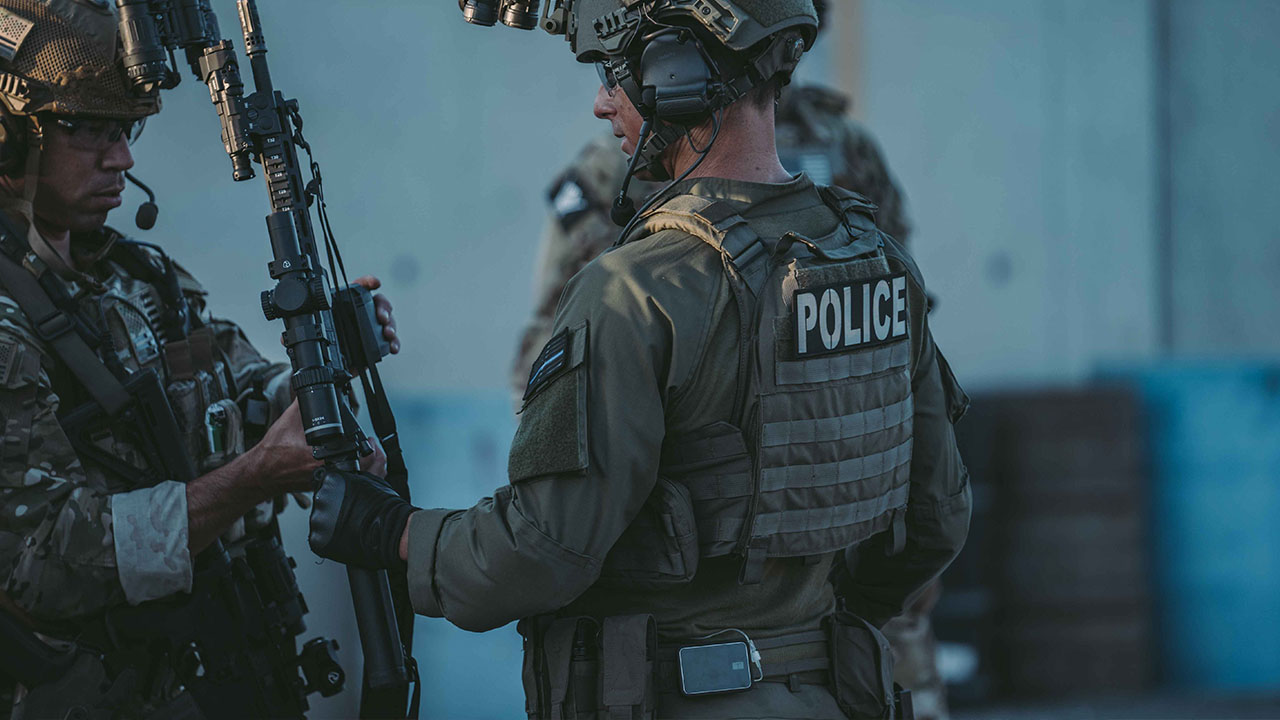
Law Enforcement Setup
LEO configurations typically balance ballistic protection with extended wearability. An outer carrier with Level IIIA soft panels, magazine pouches on the support-side cummerbund, a radio on the shoulder strap, and an IFAK on the weak side is a standard configuration. The strong side should remain clear for sidearm access.
Military / Tactical Setup
Military setups prioritize rifle-rated plates (Level III or IV), multiple magazine pouches on the front panel, communications on the shoulder strap, and an IFAK on the support side. Back panel hydration or a sustainment pack supports extended dismounted operations.
Minimalist / Slick Setup
Plates only — no pouches, no accessories. Common for range training, conditioning, or low-profile applications where a minimal footprint is required. The Chase Tactical LVPC-E is built precisely for this kind of low-visibility, streamlined configuration.
Conclusion
Wearing a plate carrier correctly is crucial for both comfort and protection. To ensure a proper plate carrier setup, focus on adjusting the side and shoulder straps and ensuring that the body armor fits securely without restricting movement. Whether you’re wearing plates for tactical training or any activity requiring body armor, a proper fit is essential for maximum protection. Regularly check your chest rig setup and adjust your plate carrier for a snug yet comfortable fit.