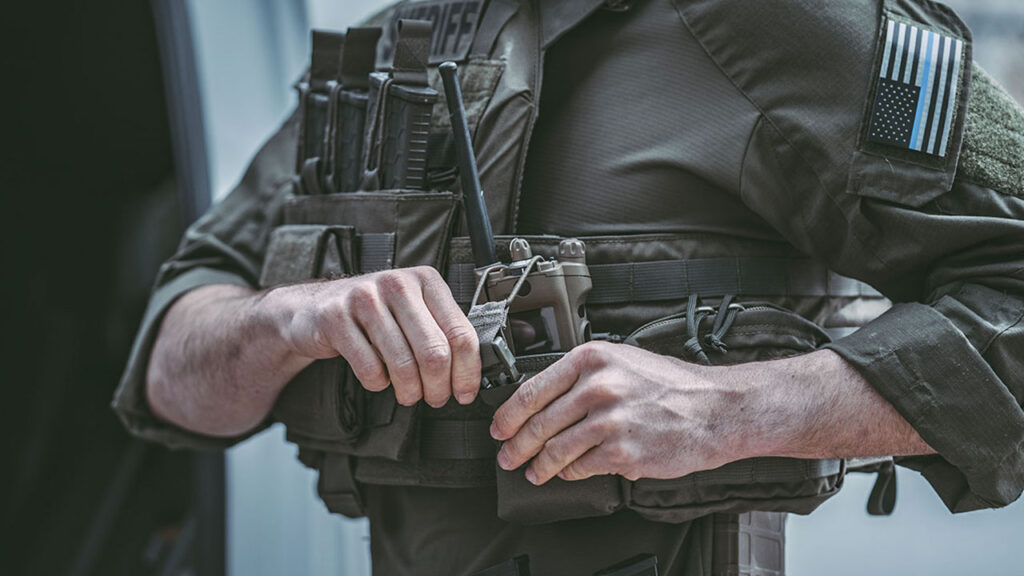
How to Apply a Tourniquet Correctly
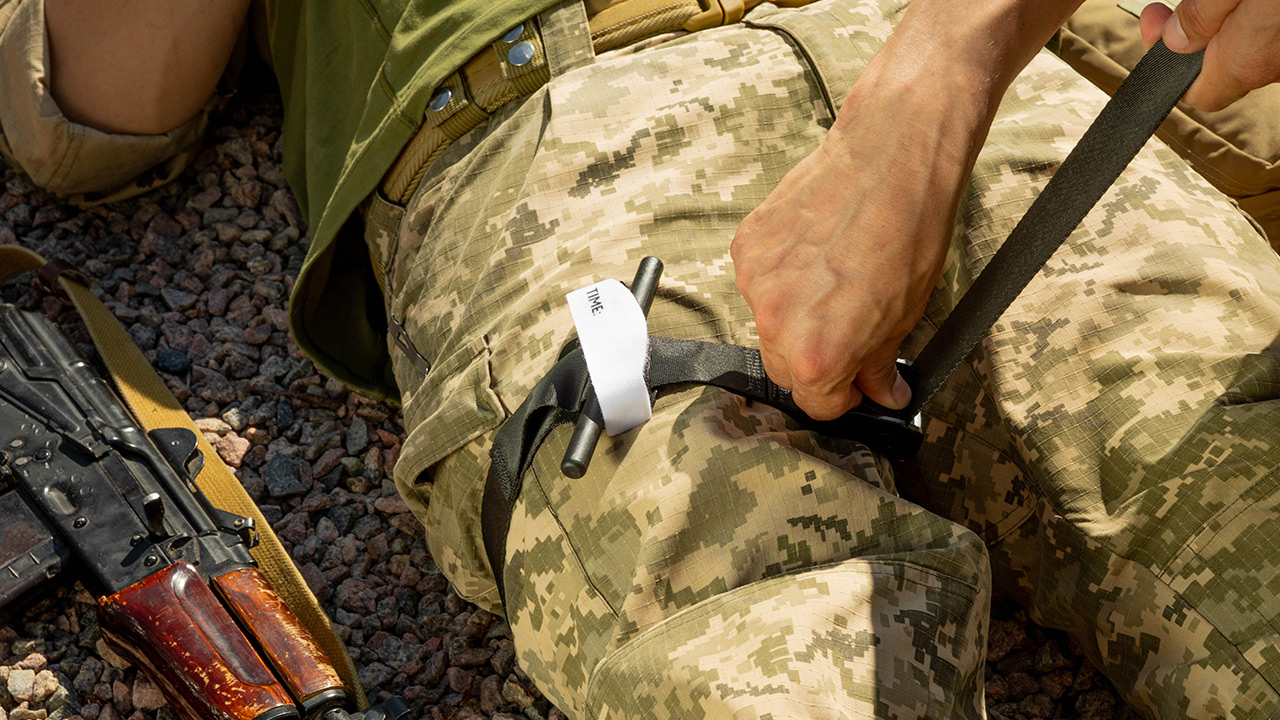
Learn how to apply a tourniquet and when one should be used to save a life.
Table of Contents
Although many people likely already know that a tourniquet is used to prevent excessive bleeding or cut off blood flow in an emergency, it is not always clear how to apply a tourniquet or when one should be used.
For this reason, most uses of this medical device should be handled by a health care professional. But for anyone who is interested in knowing the safe steps for using a tourniquet to potentially save a life, the following steps will provide a basic understanding of the procedure.
Knowing Why and How to Apply a Tourniquet
In addition to determining the right way to put a tourniquet on a patient’s body, it is also vital to understand when one should be used. As a fundamental rule, tourniquets can be used when someone has a serious injury and could potentially lose a fatal amount of blood before receiving further medical treatment.
Since tourniquets can cause damage to human tissue and other body parts during prolonged use, it is important not to use one unless absolutely necessary and for as short a time as possible.
A few examples of life-threatening injuries that could require the use of a tourniquet include a car crash, major cuts, gun-related injuries, and crushed arms or legs.
Understanding How to Make a Tourniquet
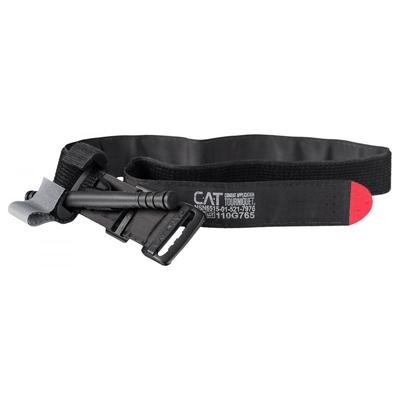
C-A-T® Combat Application Tourniquet (GEN 7)
Standard Issue CAT Tourniquet GEN7 is simpler to use thanks to a single application protocol.
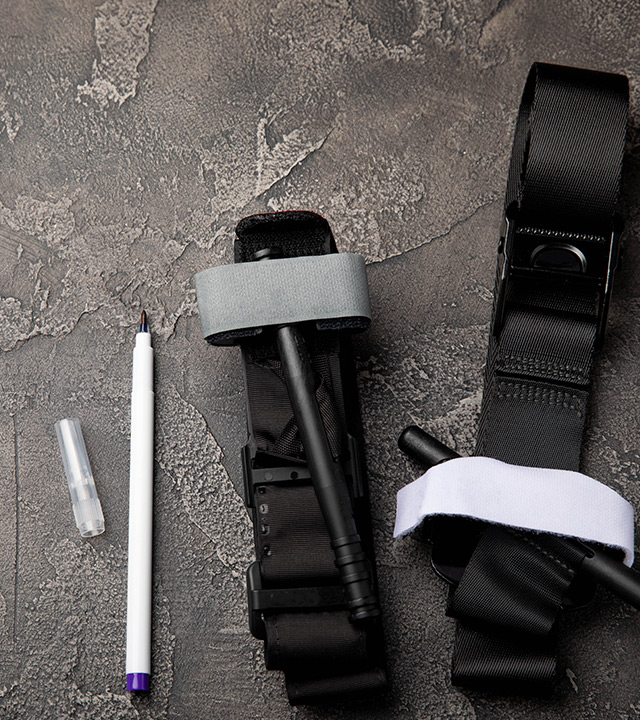
Although medical-grade tourniquets are made of the best possible materials, these are typically not available in a real-world emergency. For that reason, part of knowing how to apply a tourniquet involves figuring out the best way to create one with the items that are on hand at the time.
Towels, garments, and other soft pieces of cloth can often be used in a life-or-death situation to create the triangle-shaped bandage that will be used as a tourniquet. The other crucial piece of the process involves a stick, an ink pen, or something else that can be used as a windlass to keep the tourniquet tied tightly around the area near a wound.
Use a Wide Fabric or Cloth: The key to a successful makeshift tourniquet is a material wide enough to distribute pressure evenly. This could be a scarf, shirt, or piece of cloth. An ideal fabric width is at least 3 inches.
Find a Sturdy Object for Tightening: Look for a sturdy object that can act as a windlass (a tightening mechanism). This could be a pen, stick, or any solid cylindrical object. This will be used to twist and secure the fabric tightly.
Tie the Fabric Around the Limb: Place the fabric above the wound (as close to the injury as possible but still above the bleeding site) and wrap it tightly around the limb. Ensure the fabric is snug but not cutting into the skin. The goal is to stop the blood flow by pressing on the artery until you find some medical supplies.
Secure the Fabric: Once the fabric is wrapped, tear it off securely. Depending on the available materials, you can use a knot or tie it around the windlass. Ensure it holds tight without loosening.
Twist the Windlass: Twist the fabric tighter with a stick, pen, or other firm object. This increases pressure on the wound, stopping circulation. Tighten the material until the bleeding stops or reduces significantly.
Benefits Of Tourniquet
Using a makeshift tourniquet is not always successful. It’s a technique, and experts say it can help more than half the time when used correctly and under the proper circumstances.
Control of Severe Bleeding
The primary benefit of a tourniquet is its ability to stop life-threatening blood loss by securing the artery and veins, preventing further blood loss in traumatic wounds.
Time-Saving
In emergencies where other methods of stopping the bleeding may be ineffective or too slow, a tourniquet allows first responders to control the situation quickly and secure the patient’s blood supply.
Prevention of Further Damage
In severe trauma cases, especially those resulting in amputation or injury to major arteries, a tourniquet can reduce the risk of further complications by minimizing blood loss and preventing shock.
Readily Available
Tourniquets are commonly found in first aid kits. With proper training, anyone can use them to control bleeding effectively. They can make a critical difference in emergencies, such as car accidents, home accidents, or military or industrial settings.
Risks Associated With Tourniquets
- Potential for Nerve Damage: Improper application of a tourniquet or leaving it on for too long can lead to nerve damage, which may result in permanent disability or loss of function in the affected limb.
- Ischemia and Tissue Damage: Prolonged tourniquet use may cause tissue damage or ischemia (lack of blood flow), which can lead to complications such as tissue death. This is why it’s crucial to know when to remove the tourniquet and seek professional care immediately.
- Improper Application: One of the most common mistakes during emergencies is incorrectly handling a tourniquet. The wrong site, improper tension, or lack of follow-up care can worsen the patient’s condition, leading to complications like the need for amputation or prolonged recovery times.
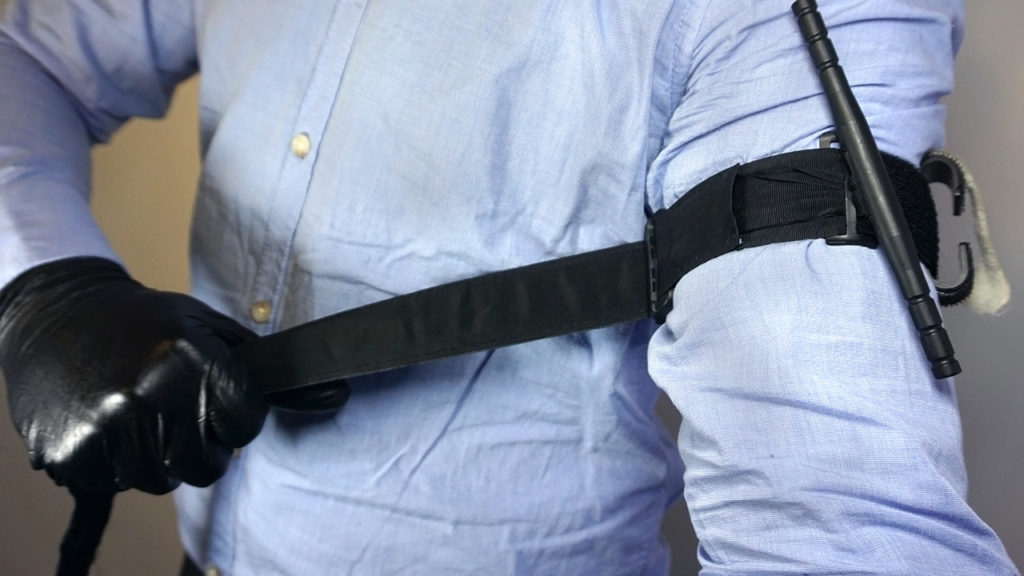
Following the Proper Steps to Apply a Tourniquet
For starters, anyone who is considering the use of a tourniquet should know that they are only useful for injuries to arms or legs and should never be used to stop blood flow to the head or torso. Additionally, it is imperative that anyone figuring out how to apply a tourniquet in an emergency also make a phone to a doctor or 911 to ensure that the proper medical experts are available as soon as possible to provide additional first aid and treatment to the wound.
As for the steps involved in properly using a tourniquet:
- The first priority involves helping the injured patients to lie down and searching for the source of the bleeding.
- Next, remove all clothing from the area near the wound and look for the proper place to apply the tourniquet.
- Apply some pressure to the wound and if the bleeding does not stop, start creating a makeshift tourniquet.
From here, it is important to determine if the injured person is alert and provide plenty of warning that a tourniquet will be tied to his or her body, which will be quite painful. Figuring out how to apply a tourniquet involves locating an area on the limb that is between the heart and the injury but not directly on a joint. Tying the material is similar to tying shoelaces without the final step of creating a bow. The windlass can be used as a lever to ensure that the tourniquet is wrapped as tightly as possible before the knot is finished to keep it all in place.
Keep tightening the tourniquet until the bleeding has slowed down considerably or stopped altogether, and make a clear marking on the person’s body to let first responders know how long it has been tied on the limb. This will help hospital medical professionals make the most appropriate decisions about how to treat the injury.
Important Questions & Answers
Inflatable tourniquets are specialized devices used primarily during surgery, while noninflatable tourniquets are made of cloth or other materials that are tied around a limb near a serious wound.
A rubber tourniquet is often used to help draw blood or insert an intravenous device. These are not tied as tightly as traditional tourniquets and are simply wrapped snugly around a patient’s arm without being tied.
Experts say a tourniquet should be placed roughly two inches above a wound, but if there is a joint in the way, it should be tied tightly above the joint.
Tourniquets should only be used in an absolute emergency, since the interruption of blood flow can cause serious damage to the tissues. Research indicates that leaving a tourniquet tied onto a limb for two hours can result in permanent nerve damage and other serious issues. After six hours, it is likely that the limb will need to be amputated.

